Instructions for installing Adobe Reader DC and configuring timestamp server on your computer
1.
Download and install Adobe Reader DC for Windows from here.
2.
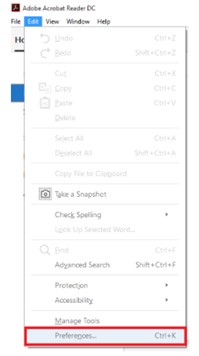
Once the software is installed, open it and choose EditPreferences.
3.
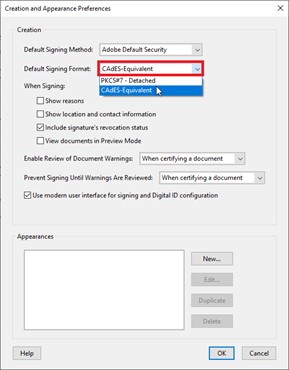
Choose SignaturesCreation & AppearanceMore.

4.
For increased compatibility with other signature control systems and the International Standards ISO 32000-2 and ETSI 319 142, choose CAdES-Equivalent as Default Signing Format. Then, click OK.
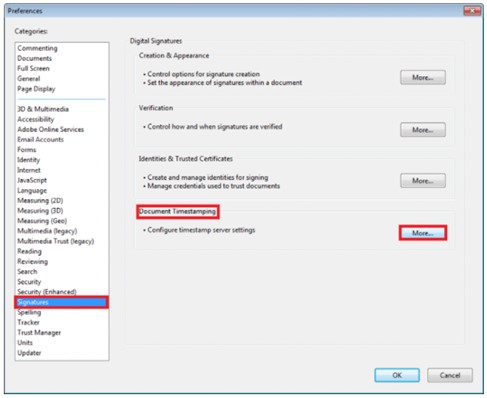
5.
Click SignaturesDocument TimestampingMore.
6.
In the next window, choose New.
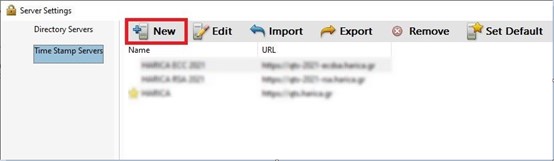
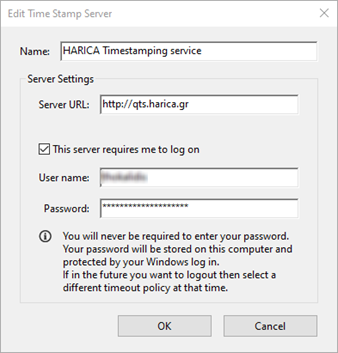
7.
Use HARICA’s timestamp server and provide timestamp username/password that you received by SMS on your mobile number. Then, click OK.
| Name | HARICA Timestamping service |
| Server URL | http://qts.harica.gr |
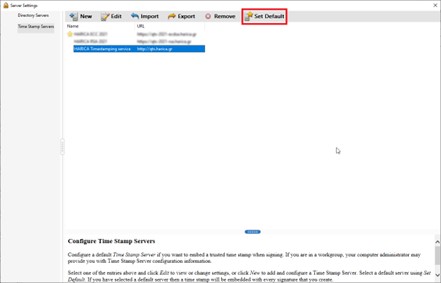
8.
Click on HARICA Timestamping service and choose Set Default. Then, close the window.
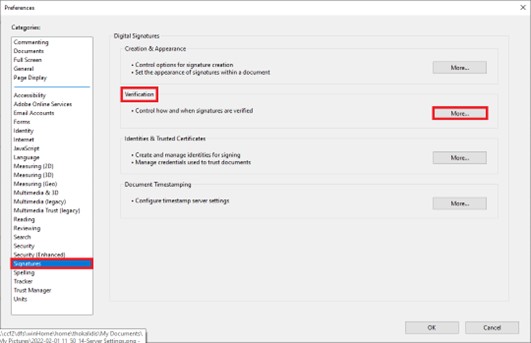
9.
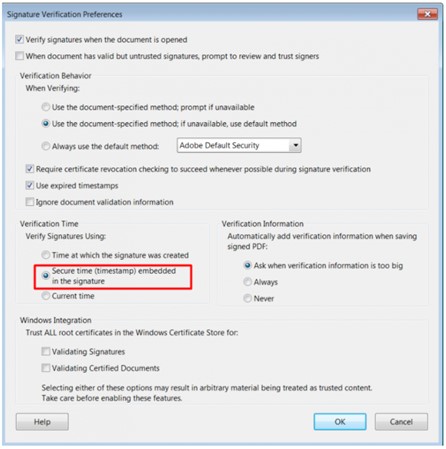
Now, from Preferences choose SignaturesVerificationMore.
10.
In Verification Time field, click on Secure time (timestamp) embedded in the signature.
Then, click OK.
Choosing this option, your eSignature will be validated as of the secure time from HARICA’s timestamp server that you set earlier.