Instructions for signing PDF documents using remote
eSignature through Adobe Reader DC
1.
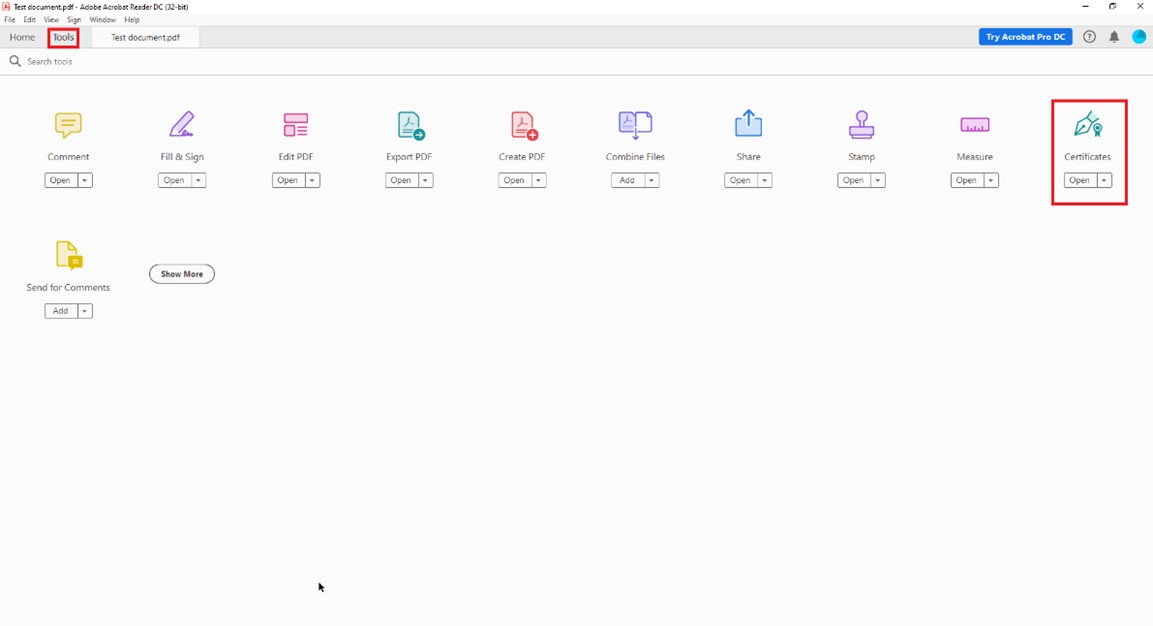
Open the PDF file you wish to sign and choose ToolsCertificates.
2.
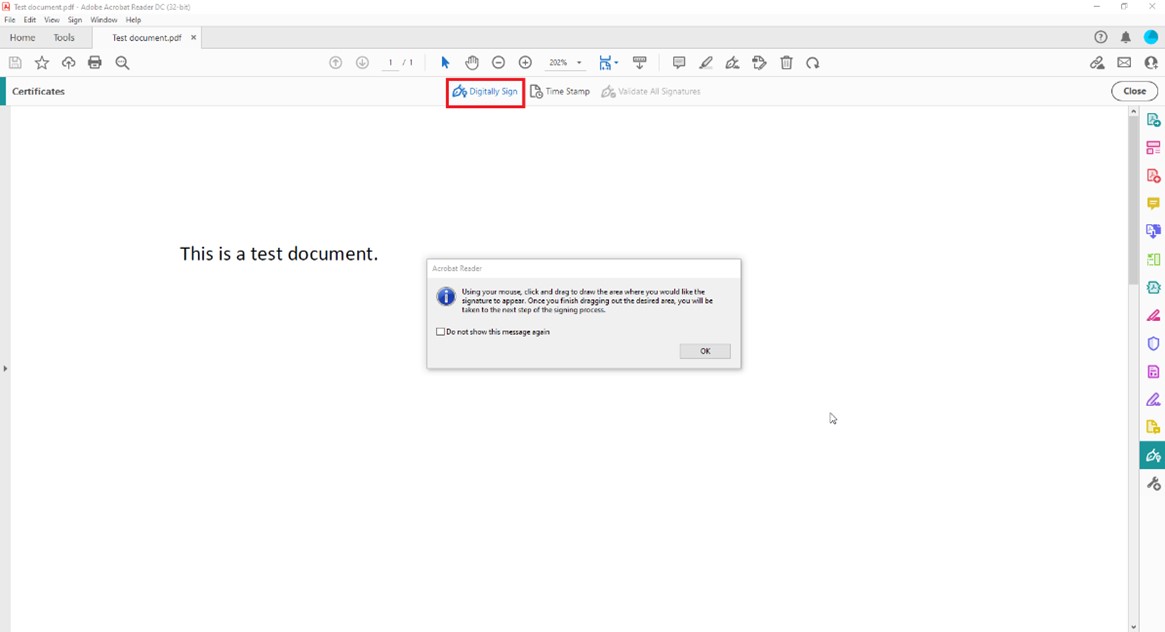
Choose Digitally Sign and press ΟΚ, if needed.
3.
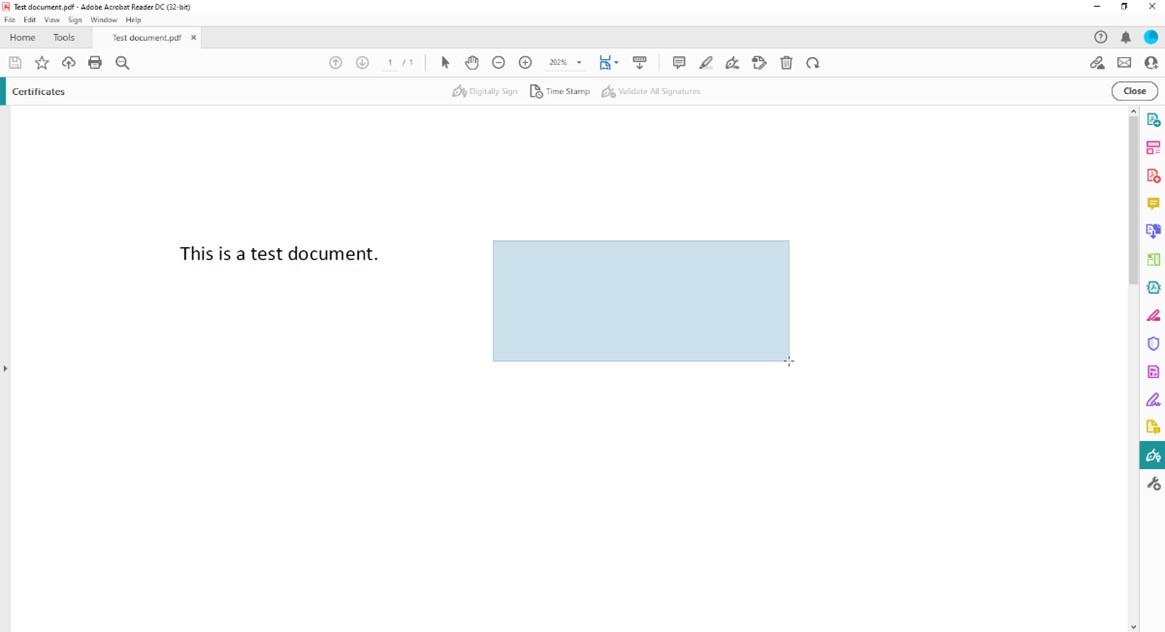
Click and drag to draw the area where you would like your signature to appear.
4.
The DSA Client window will appear in which you enter the User name of your remote eSignature (form ABCDE-1234), User’s password and then click OK.
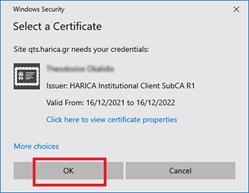
5.
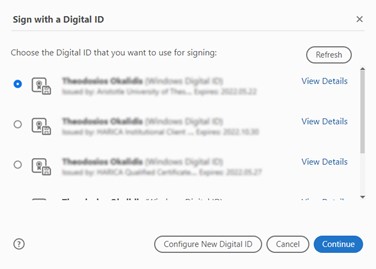
A pop-up window will appear. Choose your certificate from the list and click Continue.
CAUTION! If this window doesn’t appear in this step and the software asks you to configure a new digital ID, this means that your computer can’t find your certificate. In this case, confirm that your certificate is properly installed on your computer or contact support@harica.gr.
6.
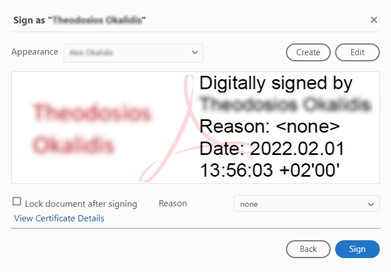
Confirm that the certificate you selected in the previous step is correct and click Sign.
7.
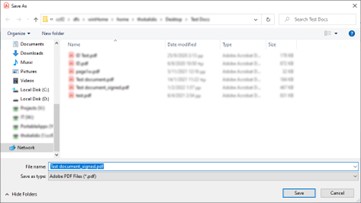
Save your file on your computer.
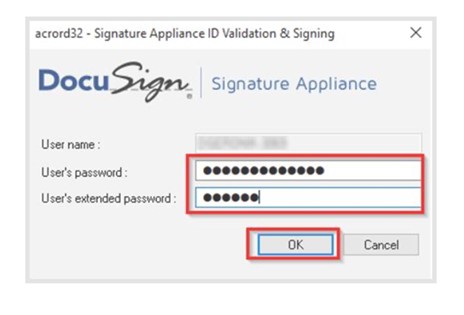
8.
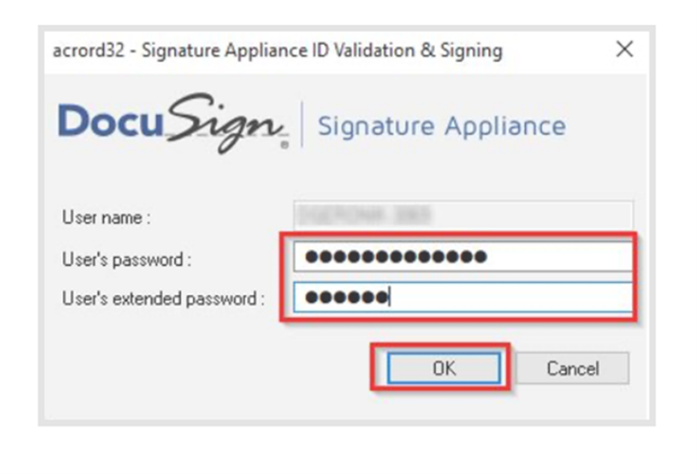
Fill in, once again, User’s password and the 6-digit OTP password (User’s extended password) from the authentication application on your mobile device (e.g. smartphone, tablet). Then, click OK.
9.
If you configured to use HARICA’s timestamping service, a pop-up window may appear to allow the server to connect and add its secure time in the signature. In this case, click OK.
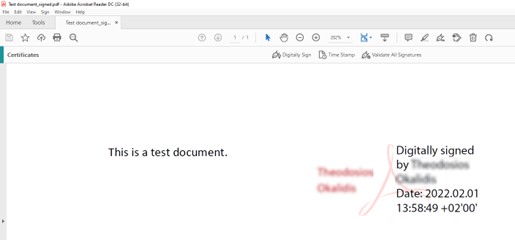
10.
Finally, your file is signed.