Instructions for purchasing advanced eSignature through
HARICA’s CertManager
1. Log in to HARICA CertManager
Visit HARICA’s CertManager and sign up to create your account. Fill in all the necessary fields. Your personal information must be accurate and fully matched (letter-by-letter) with a government-issued identification document.
2. Request for advanced eSignature
Once you log in, from the side bar, click eSignatures. Then, choose Advanced eSignature and click Select to one of the following certificate types.

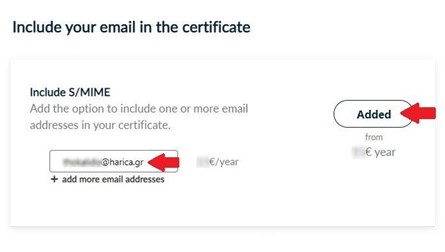
Optionally, you may include up to three (3) email addresses in your certificate with the ability to sign and encrypt email messages.
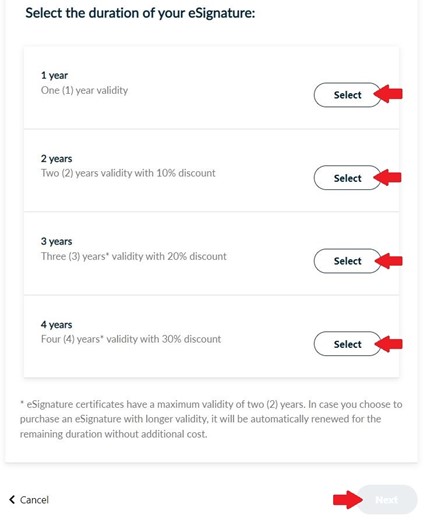
Choose the duration of your remote eSignature and click Next.
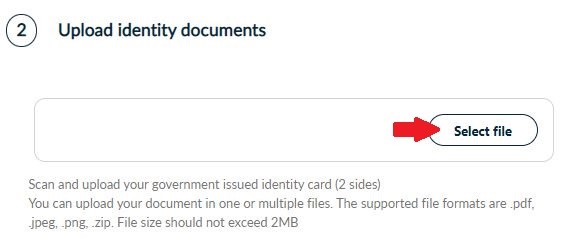
3. Select and upload identification documents
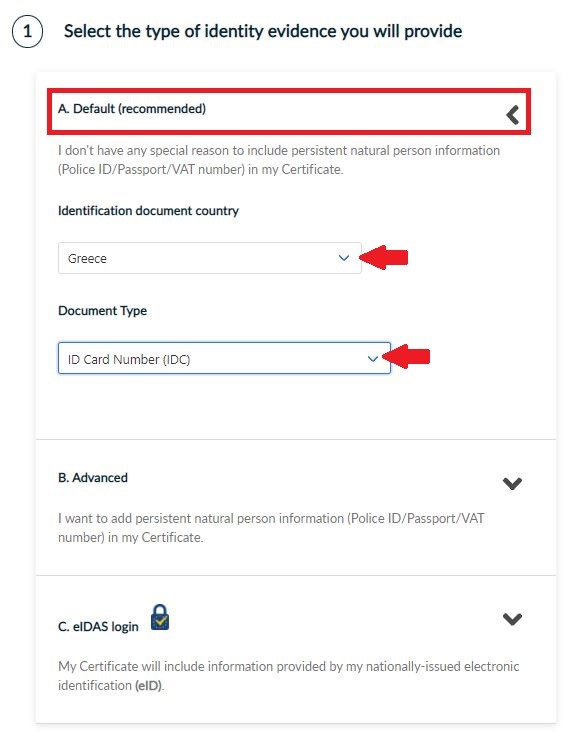
Select the information you wish to be included in your remote eSignature certificate details.
-
Choosing the default option HARICA will generate a unique 10 digit number.
-
Choosing the advanced option HARICA will include persistent natural person information in your certificate.
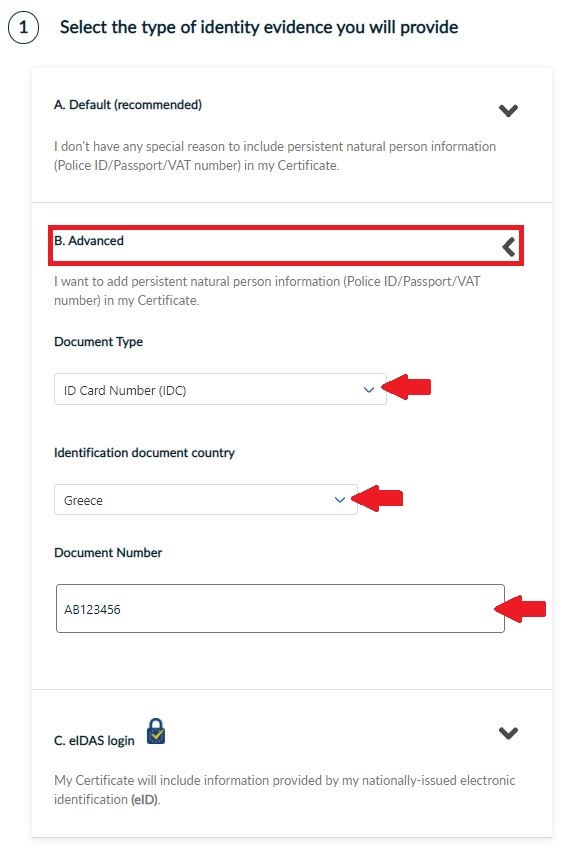

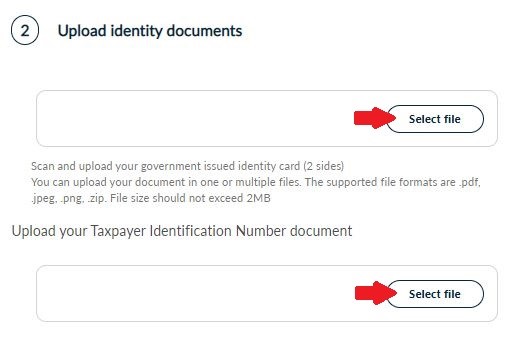
CAUTION! In the special case you select the Tax Identification Number (TIN), in addition to the persistent ID number that you will enter (9-digit TIN), you need to select an additional supporting document as an official identification document which you will upload.

-
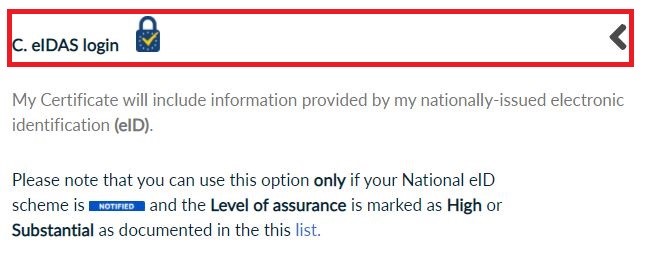
Choose eIDAS login if your National eID scheme is NOTIFIED and the Level of assurance is marked as High or Substantial as documented in this list.
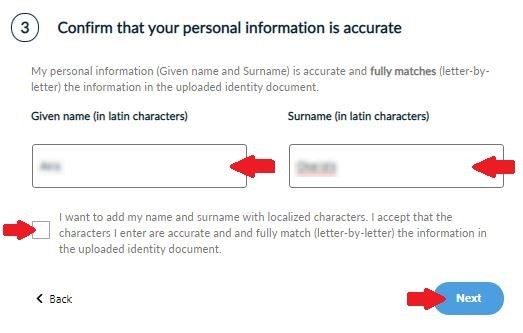
You have to make sure that your given name and surname are accurate and fully matched (letter-by-letter) with the information of the uploaded identification document in latin characters. In case they don’t match, please proceed to the appropriate corrections. Optionally, you may choose to add your name and surname with localized characters. Then, click Next.
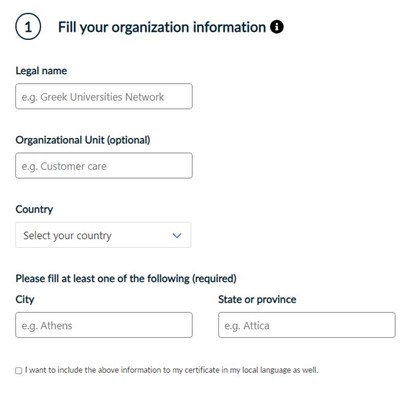
4. Fill in and upload organization evidence (for IV+OV)
Fill in all the required information regarding your organization.
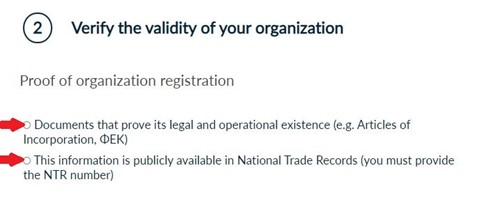
Verify the validity of your organization either by uploading all the required documents that prove its legal and operational existence (such as Articles of Incorporation, ΦΕΚ) or by providing the National Trade Records (NTR) number if this information is available in public records.
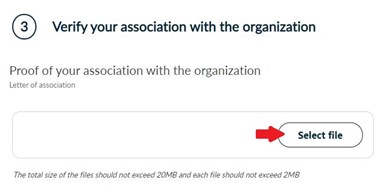
Upload the necessary documents that prove your association with the organization. Then, click Next.
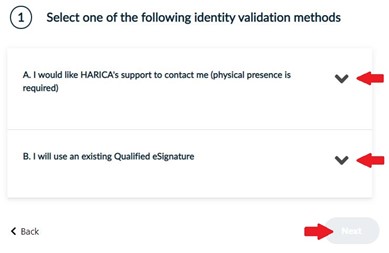
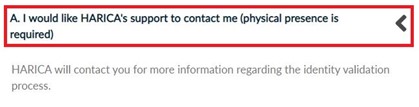
5. Select identity validation method
Choose one of the following identification methods to confirm your personal details. Then, click Next.
CAUTION! The uploaded documents should be in .pdf format.
-
In case you choose method A, your physical presence is required. HARICA’s validators will contact you for more information (e.g. arrange an appointment at HARICA’s Registration Office).
-
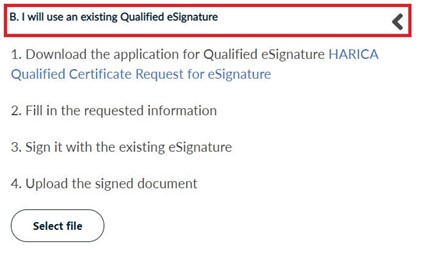
In case you choose method B, fill in and digitally sign HARICA’s request form with an existing qualified eSignature(e.g. eToken, smartcard).
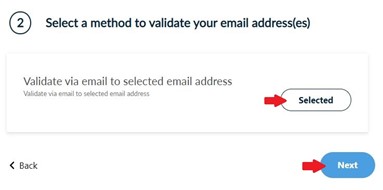
In case you included your email address(es), you have to select one of the following email validation methods to prove you control/own your email address(es). Then, click Next.
6. Review and submit request
Check to make sure that all of the information is correct, accept the Terms of Use, the Certification Practices of HARICA and the Data Privacy Statement. Then, click Next.

You have the option to generate your CSR in your browser using the auto-generation feature or submit one you have already prepared (e.g. using openssl). The Auto-generate CSR option requires you to select the key type/size and set a passphrase that you must remember since it will protect the private key of your certificate. Press Generate Private Key, CSR, and submit order or Submit request, accordingly.

Download your protected private key and then press Go back to dashboard.

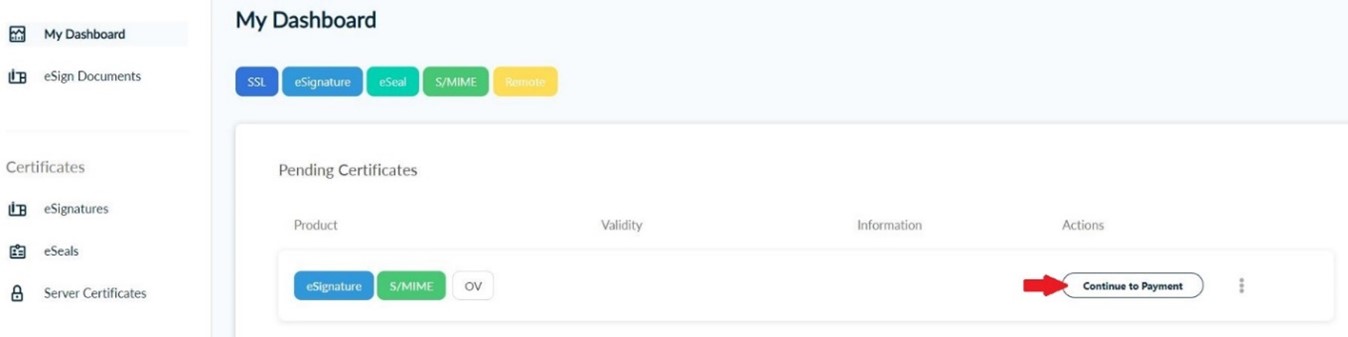
7. Complete transaction
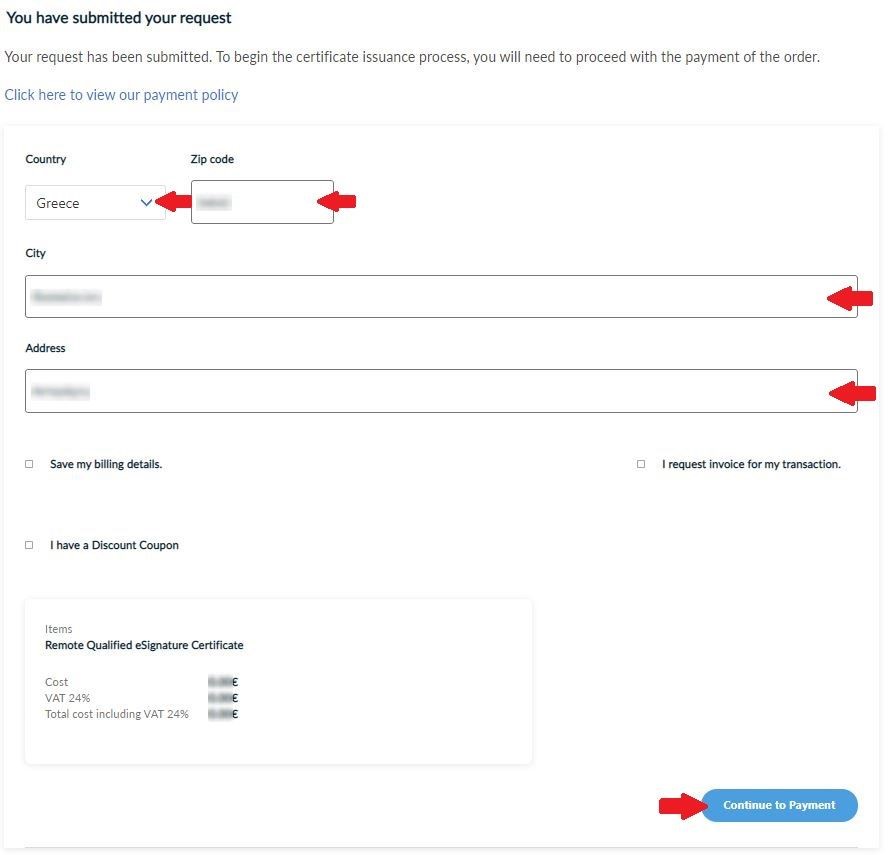
Once all actions have been completed successfully, the next step is to proceed to the payment of your advanced eSignature. To do that, click Continue to Payment.
Fill in all the necessary information, click Continue to Payment and you will be redirected to our partner bank’s e-Commerce environment to complete the payment.
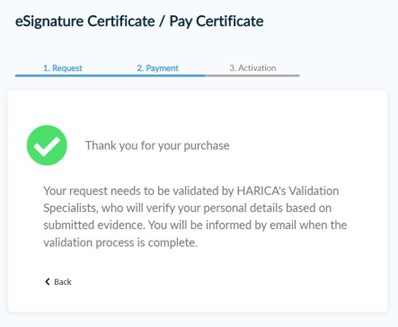
Once the payment is complete, you will be redirected back to HARICA’s CertManager confirming the purchase of your Certificate.
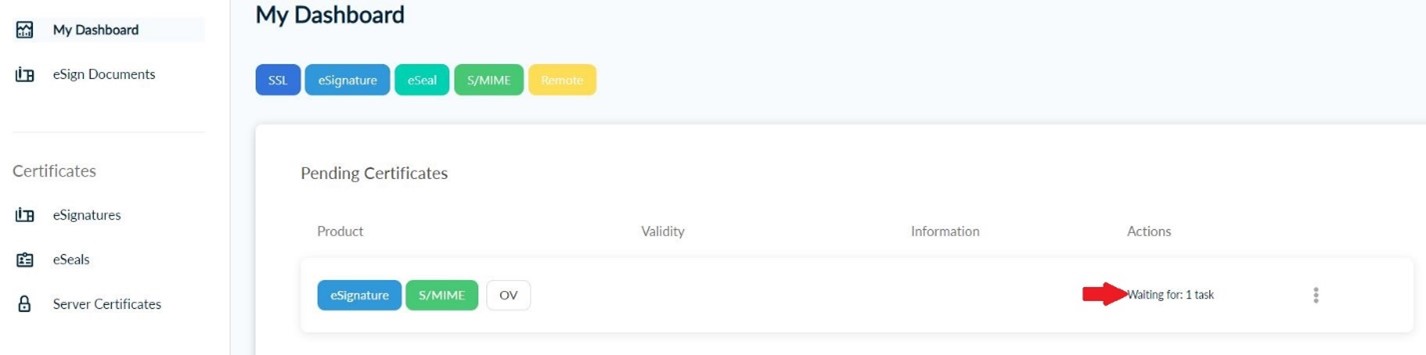
8. Wait for validation
Now, your request needs to be approved by HARICA’s validators, who will check and verify the data that you have submitted.
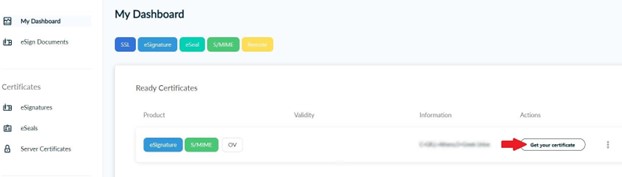
9. Get certificate
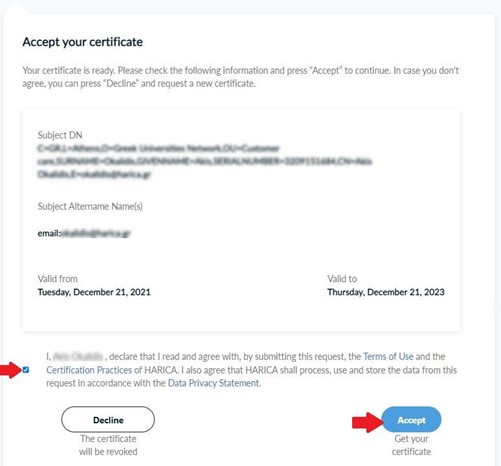
When the validation is completed you can proceed with the certificate acceptance. Press Get your certificate.
After you check that all of the information is correct, accept the Terms of Use, the Certification Practices of HARICA and the Data Privacy Statement. Then, press Accept.
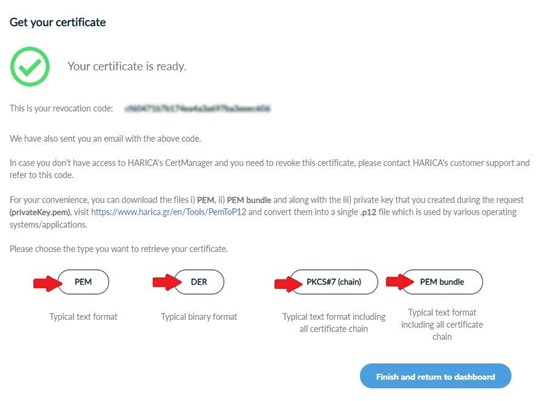
Finally, you can retrieve your certificate in different formats.
Contents
1.Log in to HARICA CertManager2.Request for advanced eSignature
3.Select and upload identification documents
4.Fill in and upload organization evidence (for IV+OV)
5.Select identity validation method
6.Review and submit request
7.Complete transaction
8.Wait for validation
9.Get certificate